1. The Chemistry of Flora Preservation
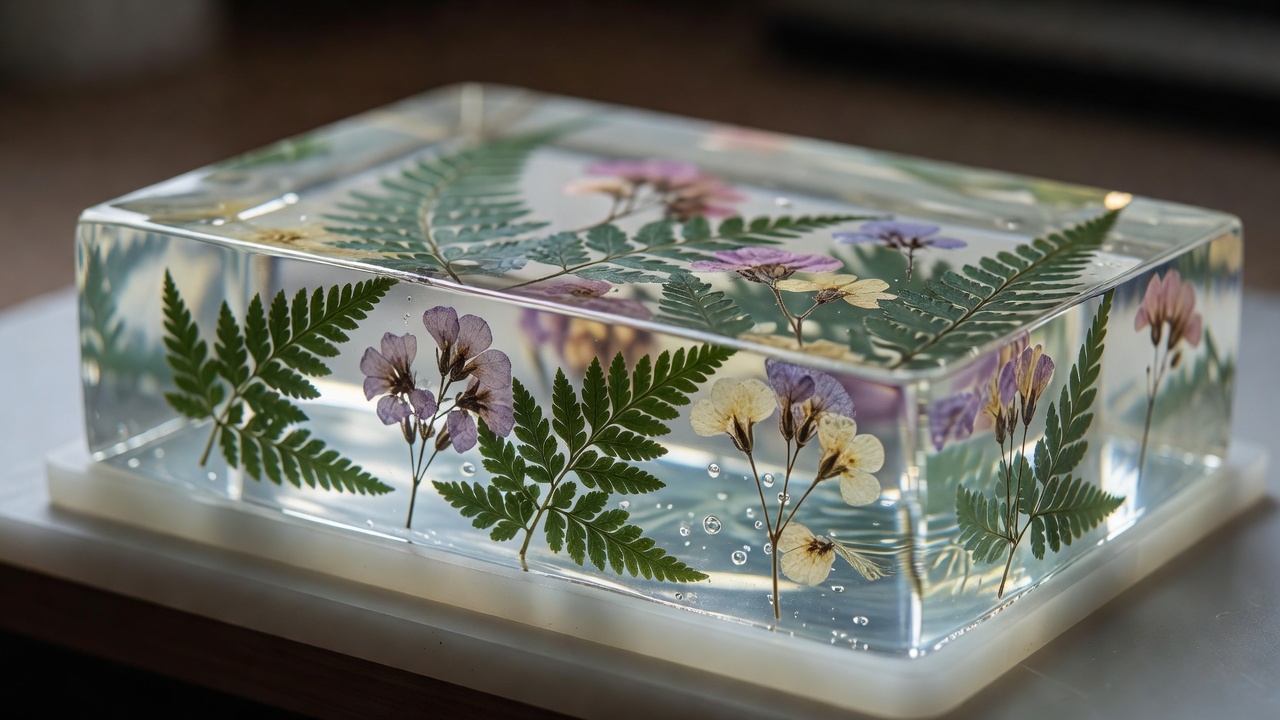
The primary reason botanical resin casts fail (turning brown or developing white mold within weeks) is residual cellular moisture. Fresh flowers contain up to 90% water. When sealed inside an exothermic epoxy system, the heat boils the water out of cellular walls, creating an ugly silver halo and decomposing the flower from within.
Traditional book pressing preserves 2D forms, but for 3D cast paperweights or jewelry pyramids, fine-mesh silica gel beads are mandatory. Silica draws moisture outward over 5 to 7 days while structurally supporting 3D petals without crushing their natural curvature.
2. Epoxy Selection: Casting Resin vs. Coating Resin
Never use high-viscosity tabletop epoxy for deep casting molds. Tabletop resin cures rapidly and will overheat in pours thicker than 6mm (exothermic thermal runaway). Use a low-viscosity, slow-curing deep pour resin with an active UV-inhibitor (such as HALS - Hindered Amine Light Stabilizers).
Safety Directive: VOC & Organic Vapors
Always work in a room with continuous airflow. Wear nitrile gloves (latex dissolves when exposed to unreacted epoxy resin) and a half-mask respirator fitted with organic vapor cartridges (A1/P2 rated).
3. Multi-Layer Pouring Schedule
Pouring all resin in a single thick layer causes delicate dried flowers to float to the top and skew off-center. Follow this disciplined two-pour layering timeline:
- The Anchor Layer (10mm): Mix Part A and Part B by weight according to manufacturer specifications (typically 2:1 or 3:1). Stir slowly for 4 continuous minutes, scraping container walls. Pour into silicone mold and let cure for 6–8 hours until it reaches a tacky "gel state".
- Flower Sealing & Placement: Dip your silica-dried botanicals into a tiny dish of liquid resin to thoroughly pre-wet all microscopic surface fissures. Place gently onto the tacky anchor layer. The tacky substrate anchors the flower, preventing it from drifting or floating.
- The Top Encapsulation Layer: Mix and degas the second batch of resin. Pour slowly in a thin stream over the botanicals until the mold is filled to its meniscus line.
4. Degassing & Bubble Elimination
| Method | Tools Required | Outcome / Efficiency |
|---|---|---|
| Warm Water Bath | Bowl with 38°C water | Reduces resin viscosity before mixing; bubbles rise to surface in minutes. |
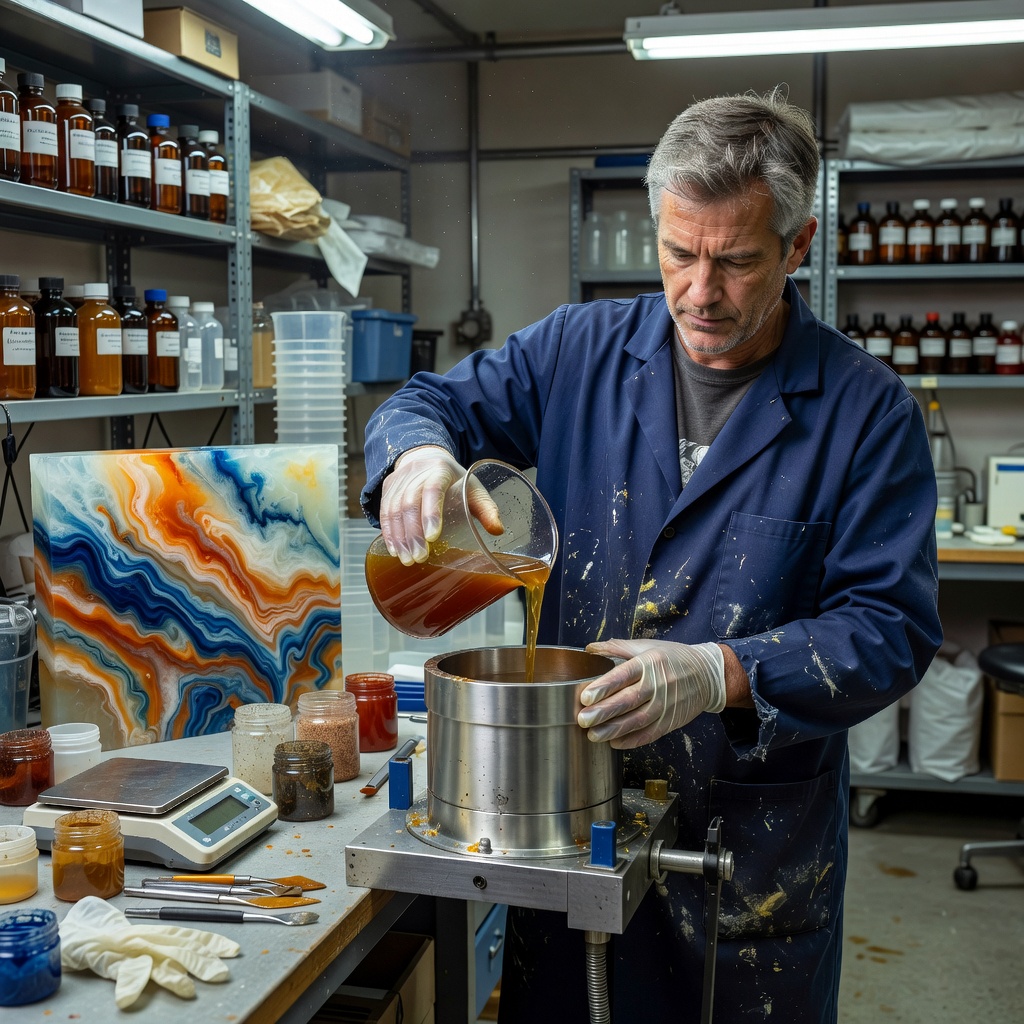
| Vacuum Chamber | Vacuum pump & vessel | Pulls 99.8% of micro-bubbles from the mixed polymer within 3 minutes. |
| Surface Torch / Heat Gun | Butane mini-torch | Quick pass 10cm above resin surface bursts popped bubbles instantly. |
5. Demolding, Sanding & High-Gloss Polishing
Allow the piece to cure at 22°C (72°F) for a full 48 to 72 hours before attempting demolding. If the mold back feels slightly soft, do not force it, or you will leave permanent fingerprints on the optical face.
To produce optical glass clarity on exposed edges, wet-sand using silicone carbide automotive sandpaper in ascending grits: 400 → 600 → 1000 → 2000 → 3000 grit. Finish with a buffing wheel charged with cerium oxide or fine plastic rubbing compound.