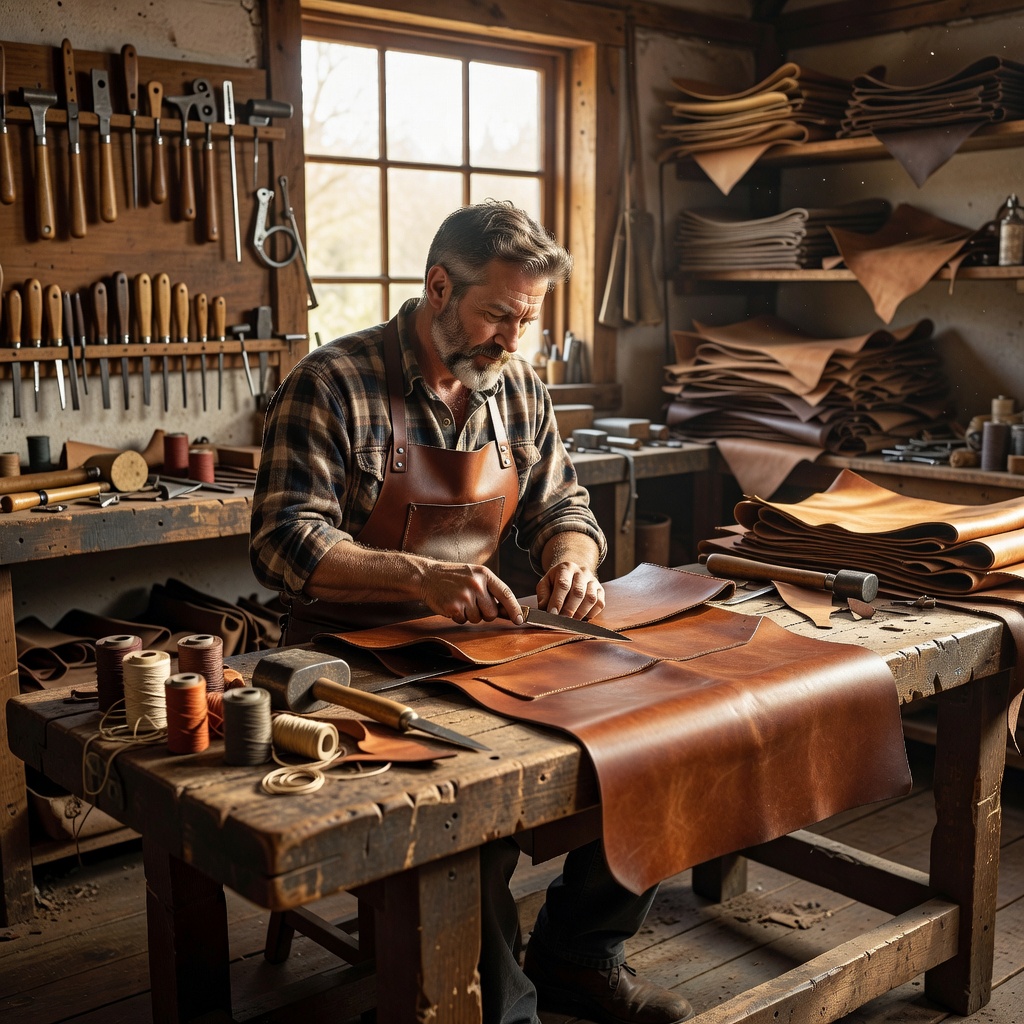
1. Why Hand Saddle Stitching Outlasts Machine Lockstitches
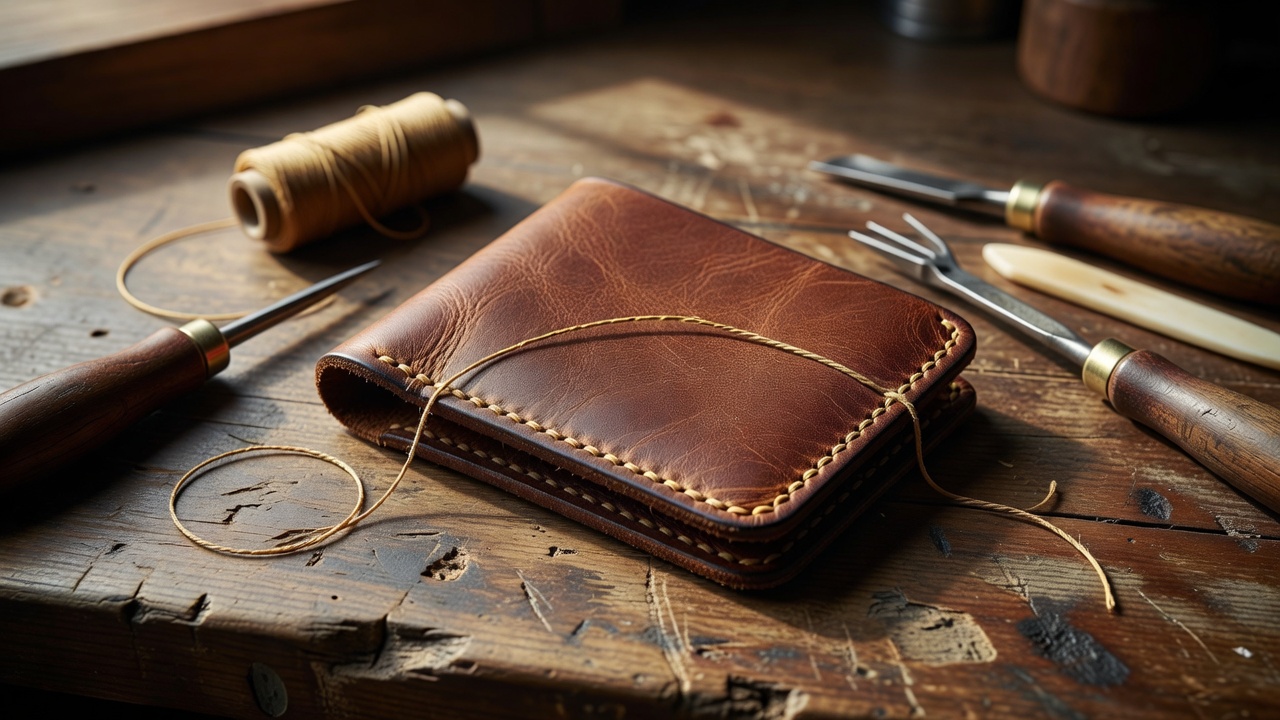
Sewing machines use two separate threads (top thread and bobbin thread) that interlock in the center of the leather. If one loop breaks from friction or wear, the entire machine line unravels rapidly. By contrast, a hand saddle stitch uses a single continuous length of thread with a needle mounted at both ends.
The two needles pass through the exact same pricked hole from opposite sides, forming two independent lines of tension. If one stitch is cut with a razor, the surrounding stitches remain held tight under friction.
2. Selecting Vegetable-Tanned Leather
For hand-stitched wallets, card holders, and belts, select Full-Grain Vegetable Tanned cowhide (1.4mm to 1.8mm / 3.5oz to 4.5oz thickness). Veg-tan leather possesses the cellular density required to hold clean chisel impressions and burns into a gleaming, glass-like edge with simple friction and Tokonole or gum tragacanth.
Pricking Iron Pitch Calibration
For fine pocket goods, use 3.38mm or 3.85mm French-style pricking irons. For heavy bags and tote handles, step up to a 4.0mm or 5.0mm diamond chisel to accommodate thicker thread.
3. Step-by-Step Stitching Protocol
- Creasing the Guide Line: Use an adjustable wing divider set to 3.5mm from the edge to scribe a faint, crisp line along your glued leather edge.
- Punching the Slits: Hold your pricking irons perfectly 90° perpendicular to the leather surface. Strike with a dead-blow poly mallet until teeth penetrate completely through the back grain. Overlap the final tooth into the preceding hole to ensure continuous alignment.
- Mounting in the Stitching Pony: Clamp the workpiece in a wooden stitching pony, keeping the stitch line 15mm above the wooden jaws to avoid flexing.
- The Saddle Cast Loop: Insert needle #1 through from left to right. Pull through until equal thread lengths exist on both sides. Insert needle #2 into the same hole below needle #1, casting the thread over the needle before pulling both taut in opposite directions with uniform force.
4. Finishing & Burnishing Edges
| Step | Abrasive / Compound | Execution Details |
|---|---|---|
| Edge Beveling | #1 or #2 Edge Beveler | Shave off the sharp 90° corner along both top and bottom edges at a smooth 45° angle. |
| Edge Sanding | 400-800 Grit Dry Paper | Sand in one single direction until layers merge into an imperceptible, monolithic layer. |
| Burnishing | Tokonole & Hardwood Slicker | Apply a thin layer of Tokonole burnishing gum; rub vigorously with dense ebony slicker. |
| Beeswax Sealing | Pure Filtered Organic Beeswax | Rub wax block along polished edge, then buff with a heavy canvas rag for water resistance. |
5. Care & Conditioning Guidelines
Natural vegetable-tanned leather develops a rich amber patina with exposure to sunlight and natural hand oils. Apply a light coat of pure neatsfoot oil or beeswax-based leather balm every six months to replenish natural fats and preserve structural flexibility for generations.