
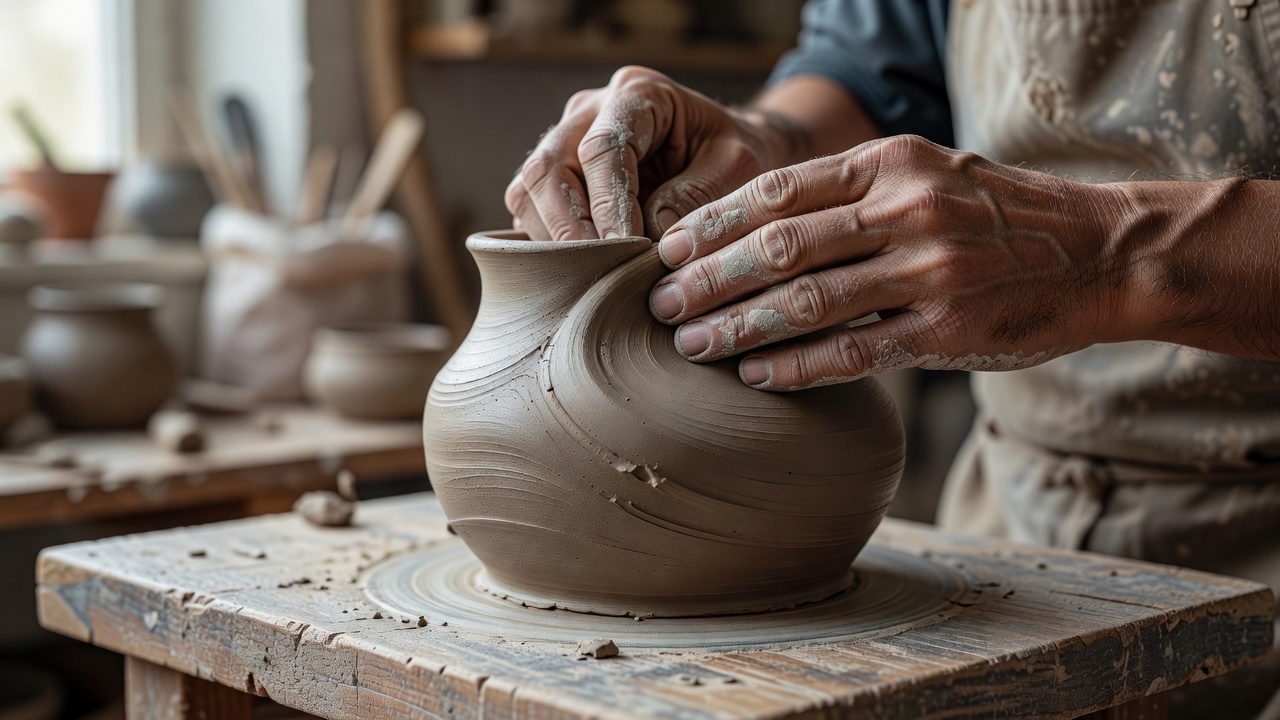
1. Introduction to Handbuilding Mechanics
Handbuilding is the oldest ceramic technique in human history, predating the rotational wheel by millennia. Unlike wheel throwing, which forces radial symmetry, handbuilding allows for sculptural freedom, geometric asymmetry, and organic contouring that celebrates the maker's tactile footprint.
The core challenge of handbuilding lies in managing moisture equilibrium. If one side of your slab dries faster than another, differential shrinkage creates internal structural stresses, leading to s-cracks on the bottom or warped rims during bisque firing.
2. Clay Preparation & Spiral Wedging
Never start shaping clay directly from the fresh block. Wedging homogenizes the moisture distribution and removes trapped microscopic air pockets that could expand violently in the kiln.
- The Rams-Head Technique: Push down and inward with the palms of both hands, folding the clay onto itself in a rhythmic rocking motion for 40–50 rotations.
- Checking Consistency: Cut through your wedged lump with a wire tool; the cross-section should be smooth, dense, and completely free of air voids.
Pro Studio Tip: Moisture Monitoring
Always work on an unsealed plaster batt or heavy canvas cloth. Smooth plastic traps surface water, preventing the even evaporation needed for leather-hard stability.
3. The Controlled Pinching Method
Pinching allows you to raise vessel walls with uniform wall thickness (ideally 5mm to 7mm for durable stoneware mugs).
- Roll a 350g ball of clay into a smooth sphere without surface fissures.
- Insert your thumb straight down into the center, stopping approximately 12mm above the bottom table surface.
- Beginning at the base, apply rhythmic, gentle pressure between thumb and outer fingers, rotating the pot 15 degrees per pinch.
- Gradually work upward toward the rim. Avoid over-working the top rim early, as this causes the clay to flare out and crack along the perimeter.
4. Technical Slab Construction & Slip Scoring
When joining slabs for box forms, cylinders, or bases, weak bonds are the #1 cause of failed firings. Follow the 45-degree bevel joint protocol:
| Phase | Clay State | Action & Safety Protocol |
|---|---|---|
| Rolling Slabs | Plastic Stage | Roll evenly between wooden depth guide sticks to achieve a uniform 6mm thickness. |
| Tempering | Soft Leather-Hard | Allow slab to rest between drywall boards for 3–4 hours until it supports its own weight. |
| Miter Cutting | Leather-Hard | Cut joining edges at a 45° angle with an acute fettling knife for maximum contact surface. |
| Joining | Score & Slip | Cross-hatch deep cross-scores with a serrated rib; apply vinegar-enriched slurry slip. |
5. Slow Drying & Firing Protocols
Rushing the drying stage is fatal. Enclose your assembled piece loosely under lightweight plastic sheeting for 3 days to equalize moisture throughout joints. Transfer to open air until the clay turns chalky-pale (bone dry). For firing parameters, see the official Cone 6 stoneware heating ramp below:
- 0°C to 200°C: Candle fire slow rise (60°C/hr) to drive off mechanical water without steam explosions.
- 573°C Quartz Inversion: Controlled ramp up through molecular expansion phase.
- Cone 04 Bisque: Reaching 1060°C for initial porous ceramic bond.
- Cone 6 Glaze Fire: Vitrification at 1222°C with a 15-minute soak for glaze maturity.
For additional tool recommendations and related studio techniques, explore our Full Projects Catalog or consult our kiln safety guidelines.